# ♥mybatis-plus知识体系详解♥
提示
本章节主要讲解mybatis-plus和springboot的整合,并根据官网的介绍,探究mp的能力极限。@123
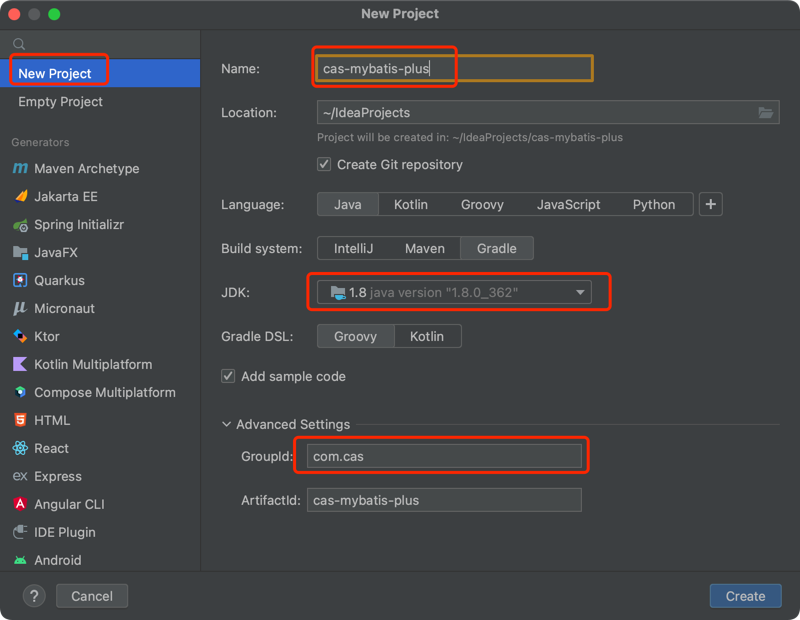
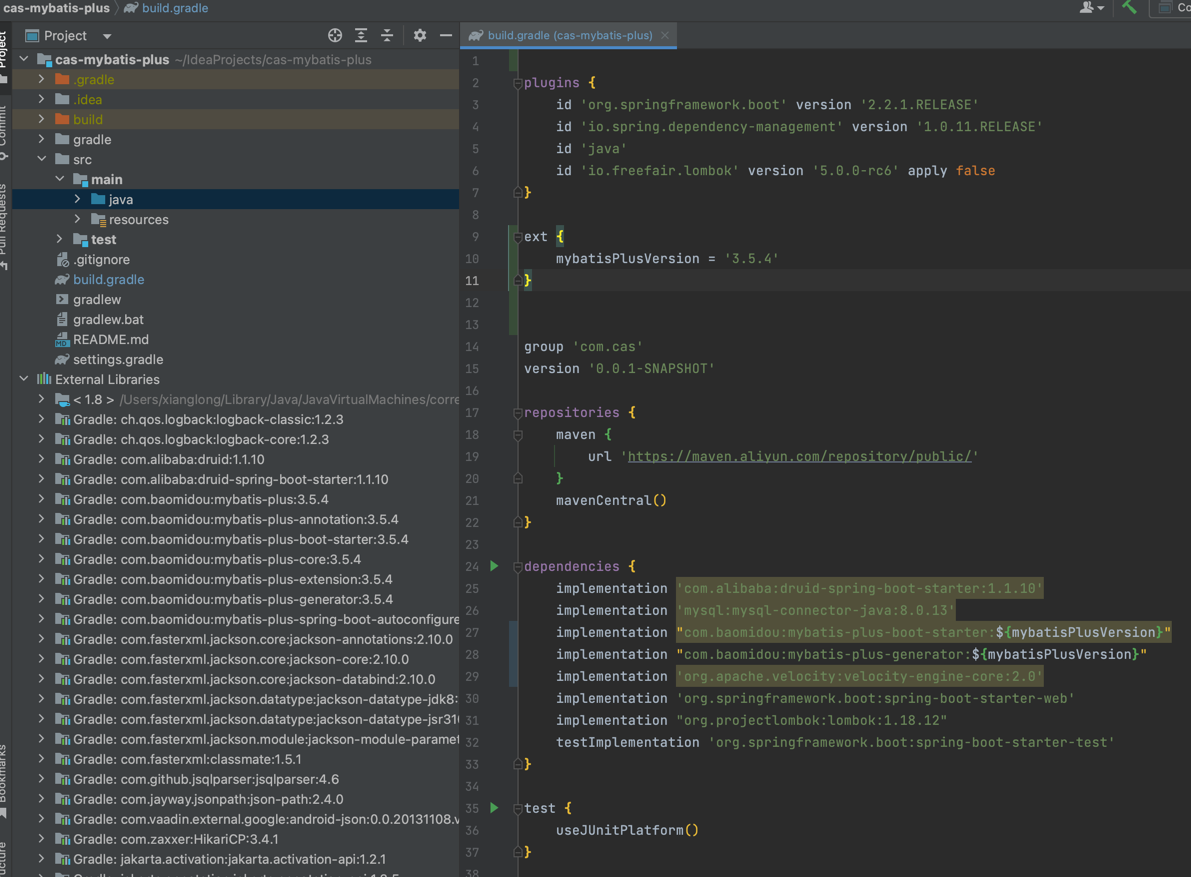
# 环境配置
采用gradle构建项目,用如下配置,直接复制使用即可,或者clone源码 (opens new window)
plugins {
    id 'org.springframework.boot' version '2.2.1.RELEASE'
    id 'io.spring.dependency-management' version '1.0.11.RELEASE'
    id 'java'
    id 'io.freefair.lombok' version '5.0.0-rc6' apply false
}

ext {
    mybatisPlusVersion = '3.5.4'
}


group 'com.cas'
version '0.0.1-SNAPSHOT'

repositories {
    maven {
        url 'https://maven.aliyun.com/repository/public/'
    }
    mavenCentral()
}

dependencies {
    implementation 'com.alibaba:druid-spring-boot-starter:1.1.10'
    implementation 'mysql:mysql-connector-java:8.0.13'
    implementation "com.baomidou:mybatis-plus-boot-starter:${mybatisPlusVersion}"
    implementation "com.baomidou:mybatis-plus-generator:${mybatisPlusVersion}"
    implementation 'org.apache.velocity:velocity-engine-core:2.0'
    implementation 'org.springframework.boot:spring-boot-starter-web'
    implementation "org.projectlombok:lombok:1.18.12"
    testImplementation 'org.springframework.boot:spring-boot-starter-test'
}

test {
    useJUnitPlatform()
}
1
2
3
4
5
6
7
8
9
10
11
12
13
14
15
16
17
18
19
20
21
22
23
24
25
26
27
28
29
30
31
32
33
34
35
36
37
38
2
3
4
5
6
7
8
9
10
11
12
13
14
15
16
17
18
19
20
21
22
23
24
25
26
27
28
29
30
31
32
33
34
35
36
37
38
# hello-world
# 项目构建
前言:通过官方的案例演示
- 构建项目
- 引入依赖 依赖如上环境配置所示
# 数据库相关配置
application.yaml配置
spring:
  datasource:
    username: root
    password: 12345678
    url: jdbc:mysql://localhost:3306/cas?useSSL=false&useUnicode=true&characterEncoding=UTF-8&autoReconnect=true&zeroDateTimeBehavior=convertToNull&allowMultiQueries=true
    driver-class-name: com.mysql.cj.jdbc.Driver
    type: com.alibaba.druid.pool.DruidDataSource
1
2
3
4
5
6
7
2
3
4
5
6
7
创建表
DROP TABLE IF EXISTS `user`;

CREATE TABLE `user`
(
    id BIGINT NOT NULL COMMENT '主键ID',
    name VARCHAR(30) NULL DEFAULT NULL COMMENT '姓名',
    age INT NULL DEFAULT NULL COMMENT '年龄',
    email VARCHAR(50) NULL DEFAULT NULL COMMENT '邮箱',
    PRIMARY KEY (id)
);
1
2
3
4
5
6
7
8
9
10
2
3
4
5
6
7
8
9
10
其对应的数据库 Data 脚本如下
DELETE FROM `user`;

INSERT INTO `user` (id, name, age, email) VALUES
(1, 'Jone', 18, 'test1@baomidou.com'),
(2, 'Jack', 20, 'test2@baomidou.com'),
(3, 'Tom', 28, 'test3@baomidou.com'),
(4, 'Sandy', 21, 'test4@baomidou.com'),
(5, 'Billie', 24, 'test5@baomidou.com');
1
2
3
4
5
6
7
8
2
3
4
5
6
7
8
# 测试用例
编写实体类 User.java(此处使用了 Lombok (opens new window)简化代码)
@Data
@TableName("`user`")
public class User {
    private Long id;
    private String name;
    private Integer age;
    private String email;
}
1
2
3
4
5
6
7
8
2
3
4
5
6
7
8
编写 Mapper 包下的 UserMapper接口
public interface UserMapper extends BaseMapper<User> {

}
1
2
3
2
3
# 开始使用
添加测试类,进行功能测试:
@RunWith(SpringRunner.class)
@SpringBootTest
public class SampleTest {

   @Autowired
   private UserMapper userMapper;

   /**
    * mybatis-plus查询操作【单表】
    */
   @Test
   public void testSelect() {
      System.out.println(("----- selectAll method test ------"));
      List<User> userList = userMapper.selectList(null);
      userList.forEach(System.out::println);
   }
}
1
2
3
4
5
6
7
8
9
10
11
12
13
14
15
16
17
2
3
4
5
6
7
8
9
10
11
12
13
14
15
16
17
测试结果

# 结论
通过对简单案例的使用,mp确实在对单表的操作上很便捷,无需构建xml文件,到这里其实还是需要写一些固化的代码,我们使用生成器来简化这一过程 请转到代码生成器